
We’re down to the last countdown day before the MFT September Release goes live and I’ve made a couple of cheerful ombré cards using the gorgeous All the Stars Cover-Up Die-namics.

I started by inking a background with Distress Oxide Inks (Abandoned Coral, Spiced Marmalade and Fossilized Amber). Then I rubbed some Distress Glaze over it to protect and really bring out the colors.

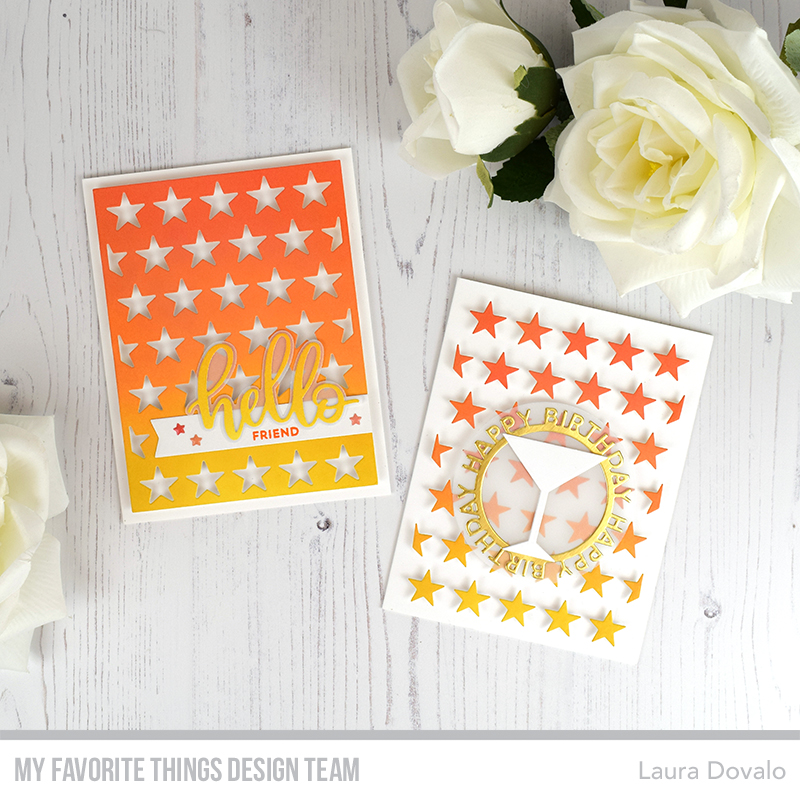
Once it was completely dy, I die cut the background panel and used a piece of masking paper to catch all of the diecut stars. I then popped up the panel on a white cardbase with some thick foam dots. I love the contrast of these bright colors against the white cardstock!

On the above picture you can see the volume of this simple but beautiful background. It took some experimenting to find a nice placement for the sentiment…

…but I’m quite happy with the result. I partially stamped and embossed a phrase from the Bitty Thanks and Gratitude stamp set on a banner from our August Free with Card Kit product; the Starburst Sentiment Strips. Next, I added the die cut hello, that I die cut using the Little Hello Die-namics.

I couldn’t let all of those pretty stars go to waste, so I made a second card, also with a white cardbase. To adhere all of the stars in their right places, I die cut another star panel and used it as a template.

In order to make the die cut Happy Birthday Circle Frame Die-namics stand out, I adhered it to a circle of vellum and then to the stars. It looked kind of empty, so I added a little cocktail glass from the Let’s Toast Die-namics in the middle.

I hope you liked today’s cards. I totally fell in love with the All the Stars Cover-Up Die-namics and think I’m going to be using it a lot! As always, I now invite you to head on to the MFT Blog for more inspiration. Don’t forget to leave a comment for a chance to win a $75 gift voucher to the online store. See you tomorrow!

List of MFT Supplies used for the cards with stars
This post is also available in: Español

