
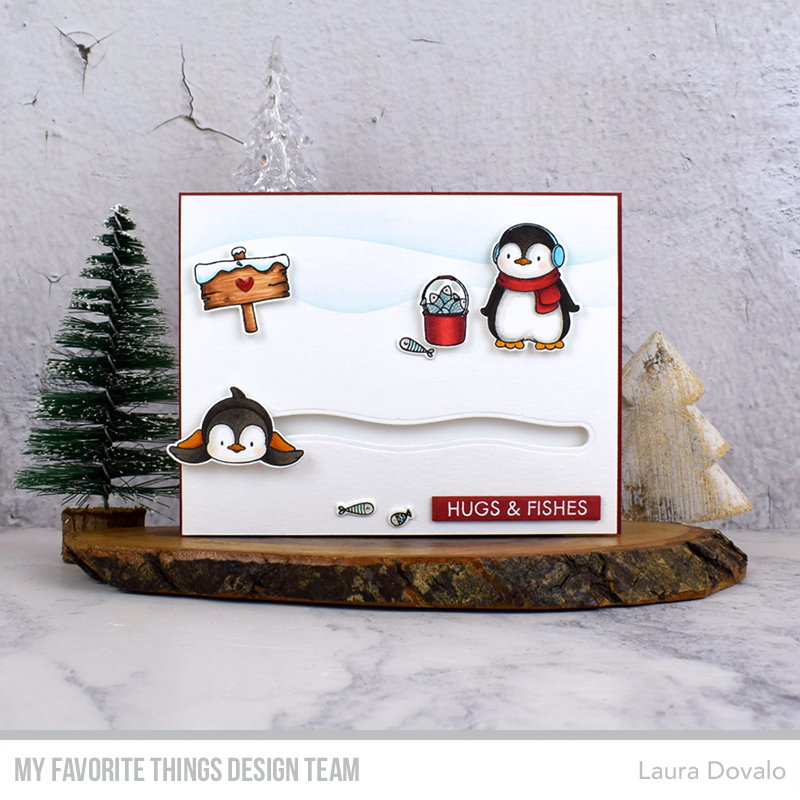
For Day 4 of the MFT November Release Countdown I made a fun penguin spinner card. It features cute images from the YUZU Playful Penguins stamp set.

I started by stamping them on Copic friendly card stock, cutting them with the matching dies and coloring them with the following Copic markers: R39, R37, R35, W10, W7, W5, W3, W1, W00, YR27, YR24, YR21, E33, E31, E47, R00, YR000, BG01 and BG000.

Next, I did some soft ink blending on my A2 card base with Sno Cone Premium Dye Ink and Drifts & Hills Stencil. Once the ink was dry, I die cut the slider groove with one of the dies from the new On the Move Slider Channels Die-namics. I’m sure that you’re familiar with this type of mechanism, but just in case, here’s a clip of the card in action:
I actually layered two panels to make the channel extra sturdy. The penguin slides really nicely thanks to one of the plastic Slider Elements.

Next, I adhered the panel to my 5 5/8″ x 8 3/4″ card base of Wild Cherry Card Stock with two layers of Scotch foam tape. Lastly, I decorated my penguin spinner slider card with the rest of the images and banner cut with the Skinny Strips Die-namics.

That’s all for today friends! Head on to the MFT Blog for more inspiration! Thanks for your visit!
This post is also available in: Español

