

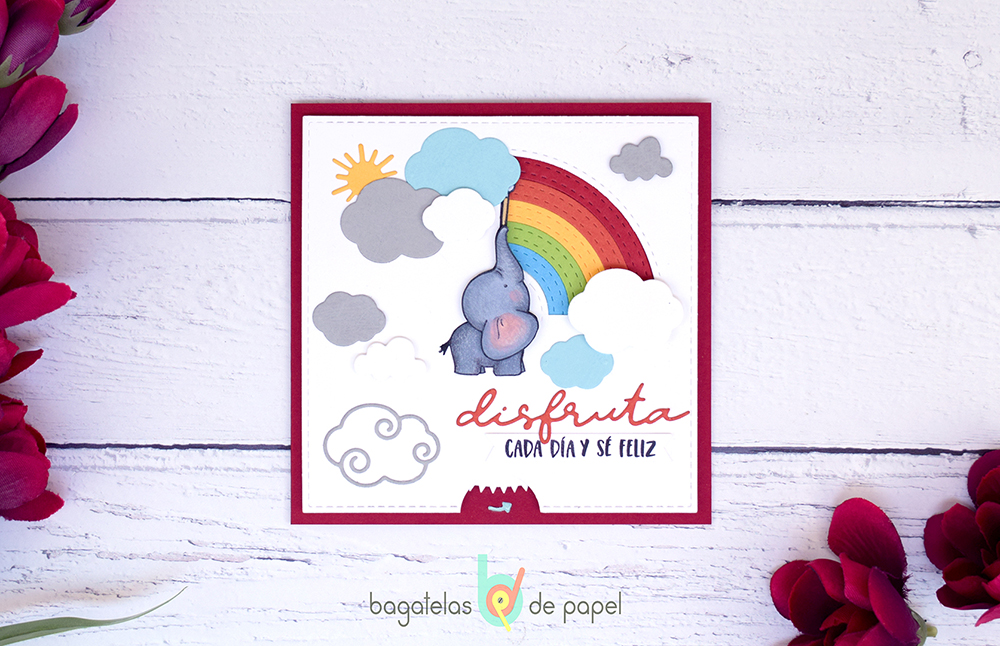
Hi there! Yesterday I shared this interactive rainbow card at La Pareja Creativa’s blog promising that I would upload a video tutorial of it today. So here I am…
In yesterday’s entry I spoke about the idea of the card and about the products that I used, but I didn’t mention the measurements of the different elements. So here’s the tutorial and below it you’ll find some other information…
So, what did you think? It’s actually a very simple idea and if we would use a rainbow die, like the one that I used for THIS card, it would be really easy to make…

But I wanted to challenge myself and only use La Pareja Creativa products and I’m actually really happy with the result.
Here are the measurements of the different elements of the card:
- Cardbase (“School house red” cardstock by Simon Says Stamp): 10 1/2″ x 5 1/4″ (26,6cm x 13,3cm)
- Card Panel (Neenah Solar White 110 lb cardstock): 4 15/16″ x 4 15/16″ (12,5 cm x 12,5 cm)
- Rotating disk diametre: 4 7/16″ (11,3 cm)
…and the list of La Pareja Creativa products that I used:


I hope that this short and strange entry makes sense. I usually publish a teaser here and a complete entry at La Pareja Creativa. ^_^ See you soon!
This post is also available in: Español

