

At first glance the card is quite depressing, isn’t it? But if you push the tab upwards…
…a fun character pops up from behind the tree. Yes, I know that such a skinny tree couldn’t hide him, but remember that Count Dracula has the ability to turn himself into a bat, ha ha ha.

The mechanism that I used is really simple. An acetate disc and a brad. Let’s begin by giving you the measures of the elements in case you want to make it yourself:
Card base: 5 3/8″ x 10 11/16″
Card panel: 5 3/8″ x 5 3/8″
Acetate disc diametre: 4 1/2″

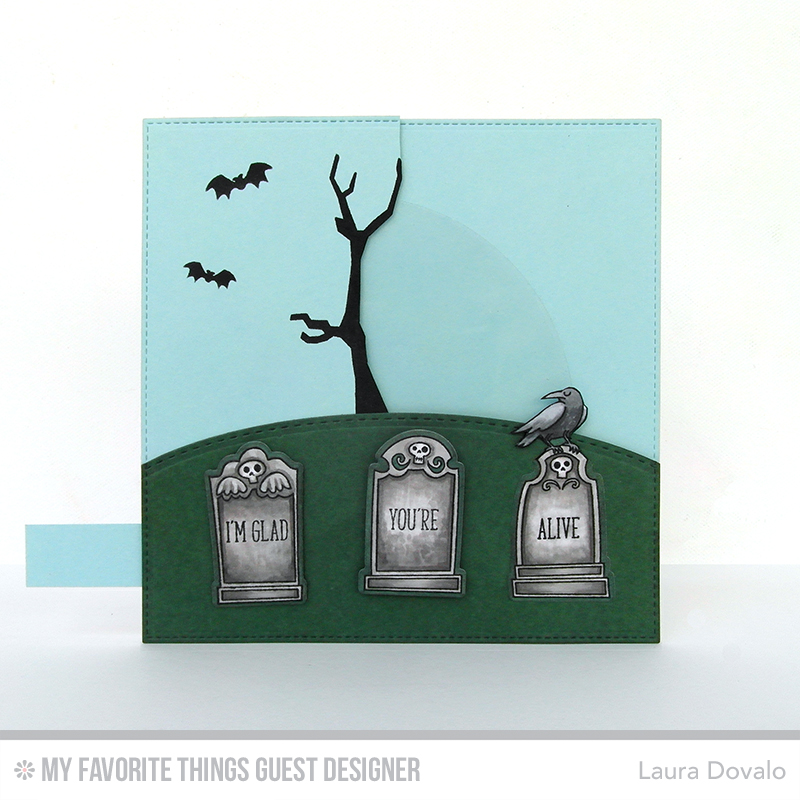
I started by stamping the tree from the Spooky Sweets set and bats from the Frightful friends set on a piece of blue cardstock that I die cut using the stiched rectangle die from the Die-namics Blueprints 15 set. I also cut the hill out of green cardstock, using the same die, as well as a curved stiched border die. Before attaching these two pieces together with liquid glue, I used a pair of scissors to cut the blue cardstock to the right of the tree, following its silhouette.

Here’s the basic mechanism of the card. I didnt want to use a larger disc than needed and since the character was only going to move a little bit, it doesn’t matter that the brad is not inserted in the middle of it.

After coloring Count Dracula with Copic markers and fussy cutting him, I turned him into a sticker using Xyron adhesive and glued him in place. I cut a strip of the acetate disc so that it wouldn’t show on the front of the card.

I attached a strip of paper to the acetate disc and some adhesive foam squares in places that wouldn’t interfere with the mechanism.

After making sure that everything was working correctly, I attached the panel to the cardbase and added the three headstones, stamped with the Grave Situation stamp set and die cut with the matching dies. Since I didn’t like the look of white borders for this card, I just colored them with a matching marker and fussy cut the part with the crow.
That’s all for today, but tomorrow I’ll be back to show you how I manipulated the stamps featuring Frankenstein and his bride, to make THIS fun Wedding card.
This post is also available in: Español

