
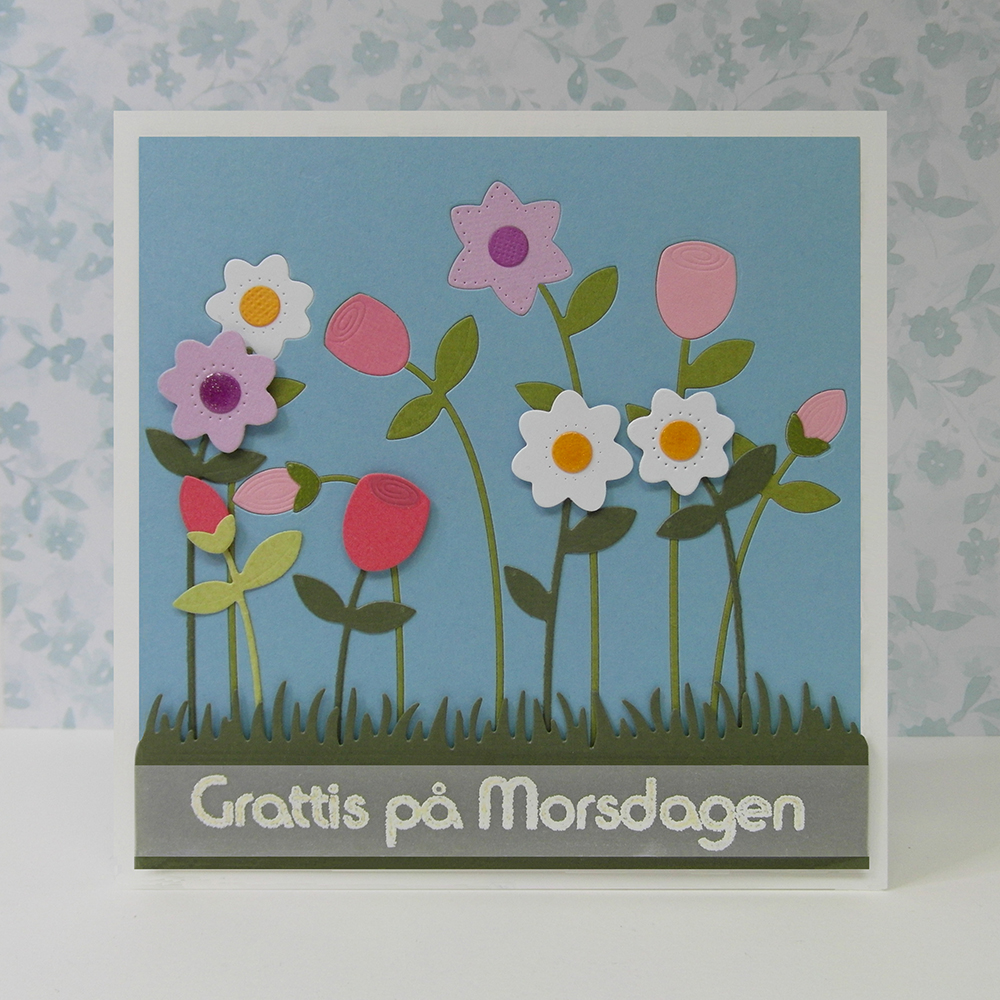
“Grattis på Morsdagen”, as you might imagine, means “Happy Mother’s Day (it’s in Swedish, the language that mom and I communicate in) It’s embossed in white, but I didn’t use a stamp… I used my printer! Keep reading and I’ll explain how I made it…
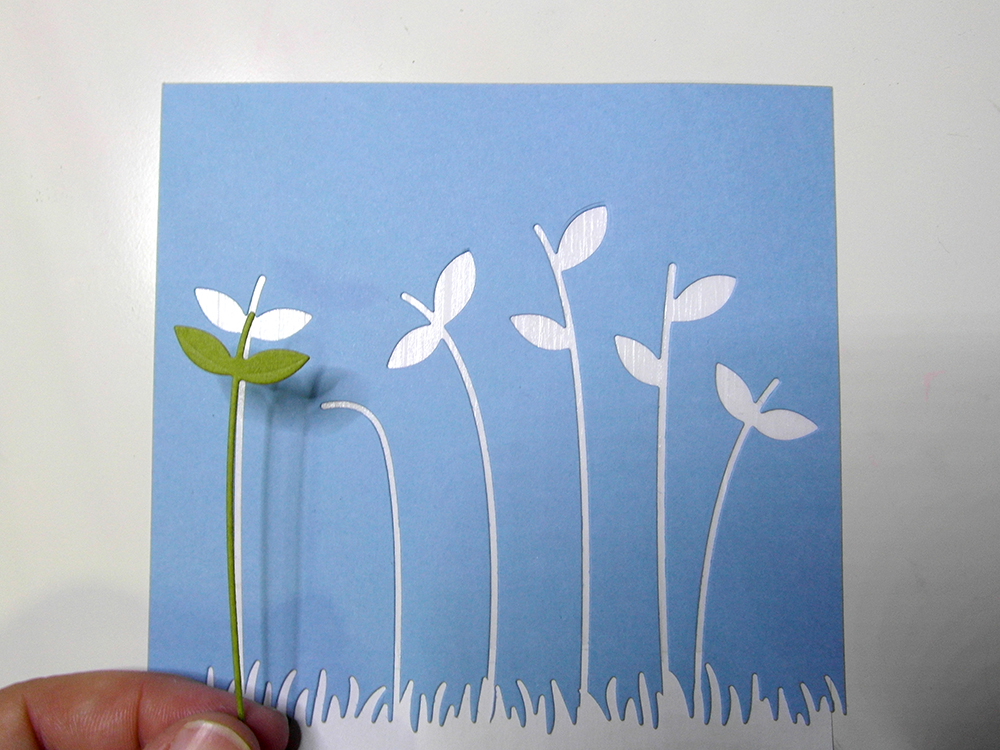
Once again I’ve used the inlay technique that I’m so fond of…

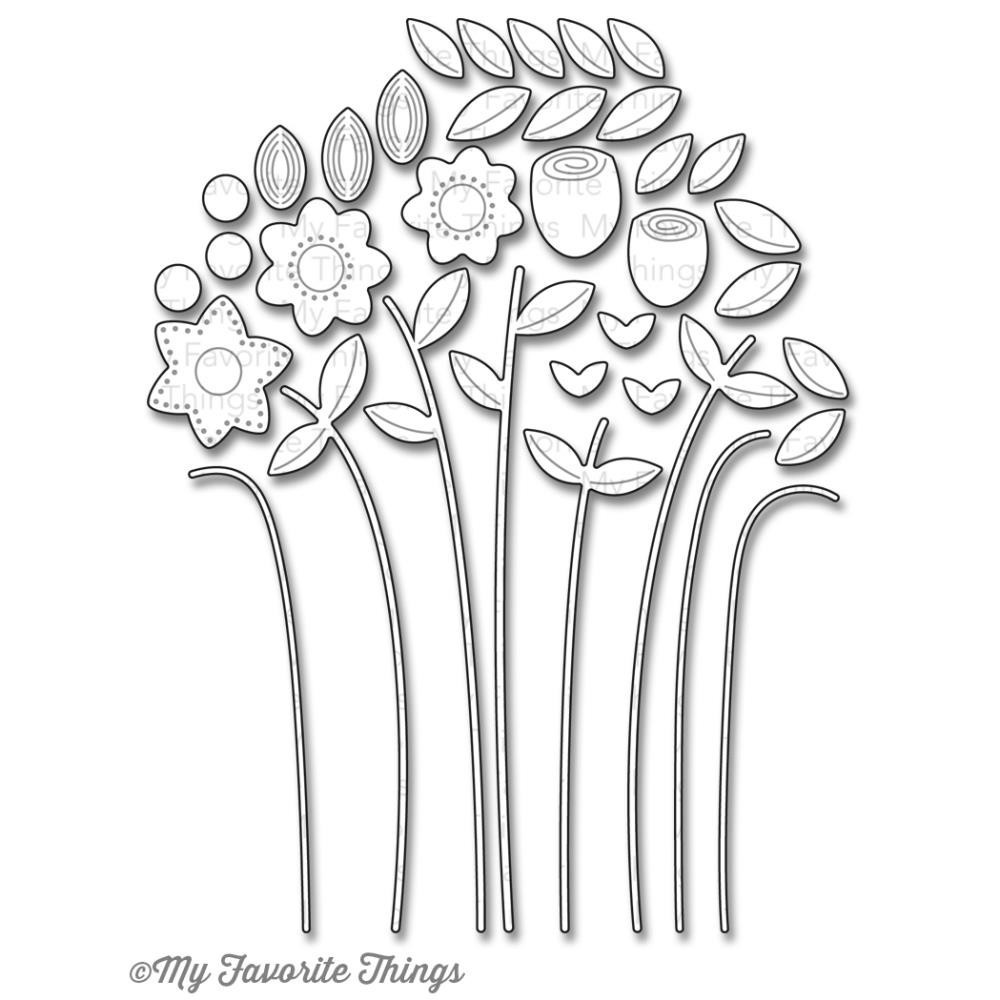
Although I’m not a flower person, I love this set of Die-namics dies! It has so many pieces, that if you run them through your Big Shot just once, you have enough to make a whole bouquet.
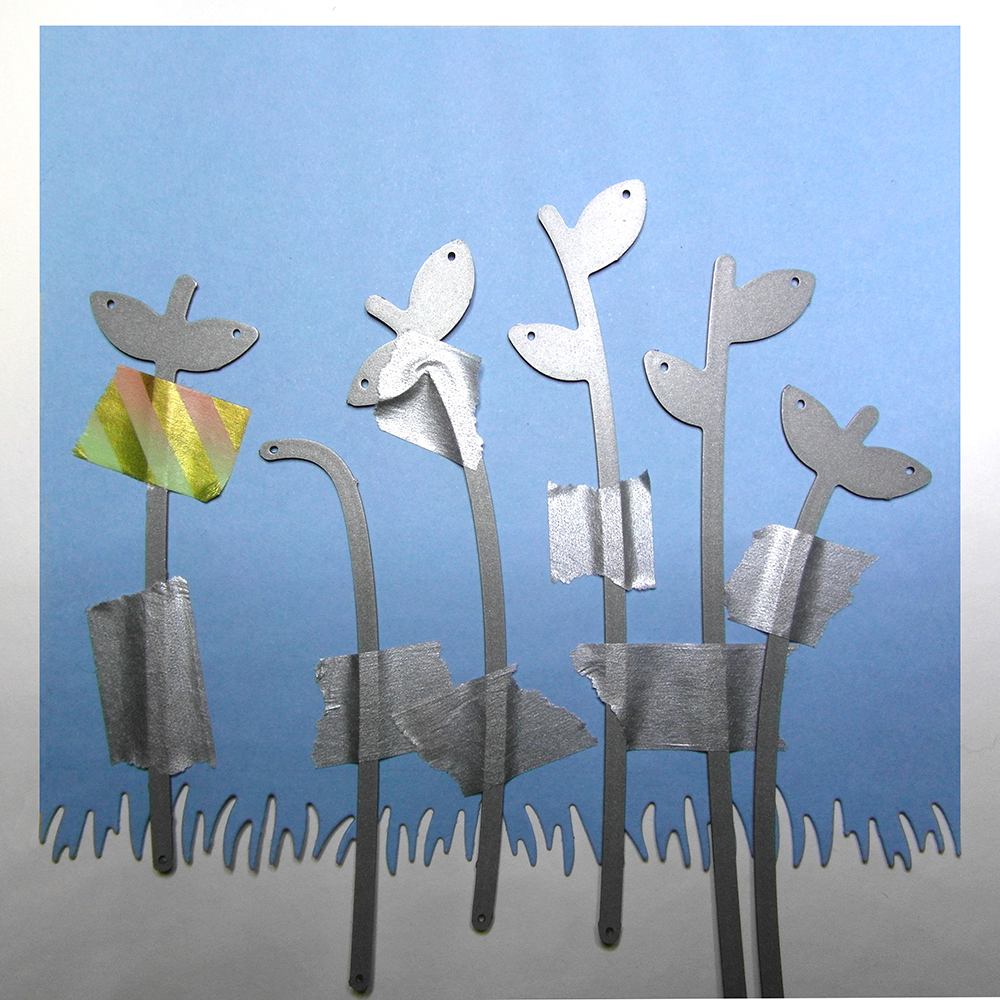

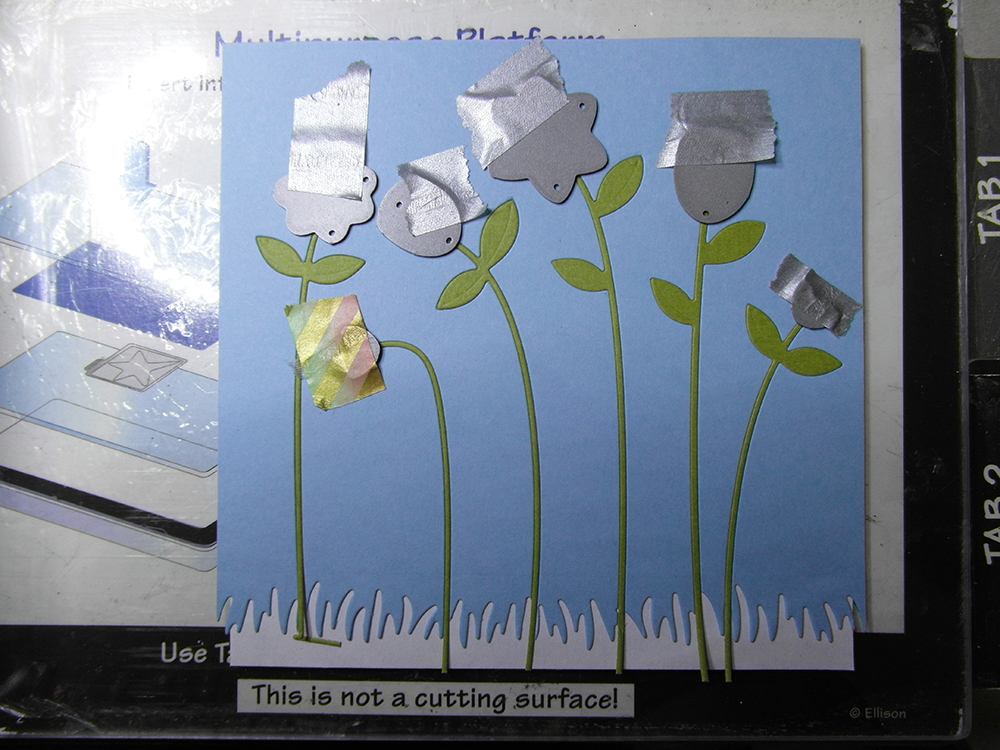
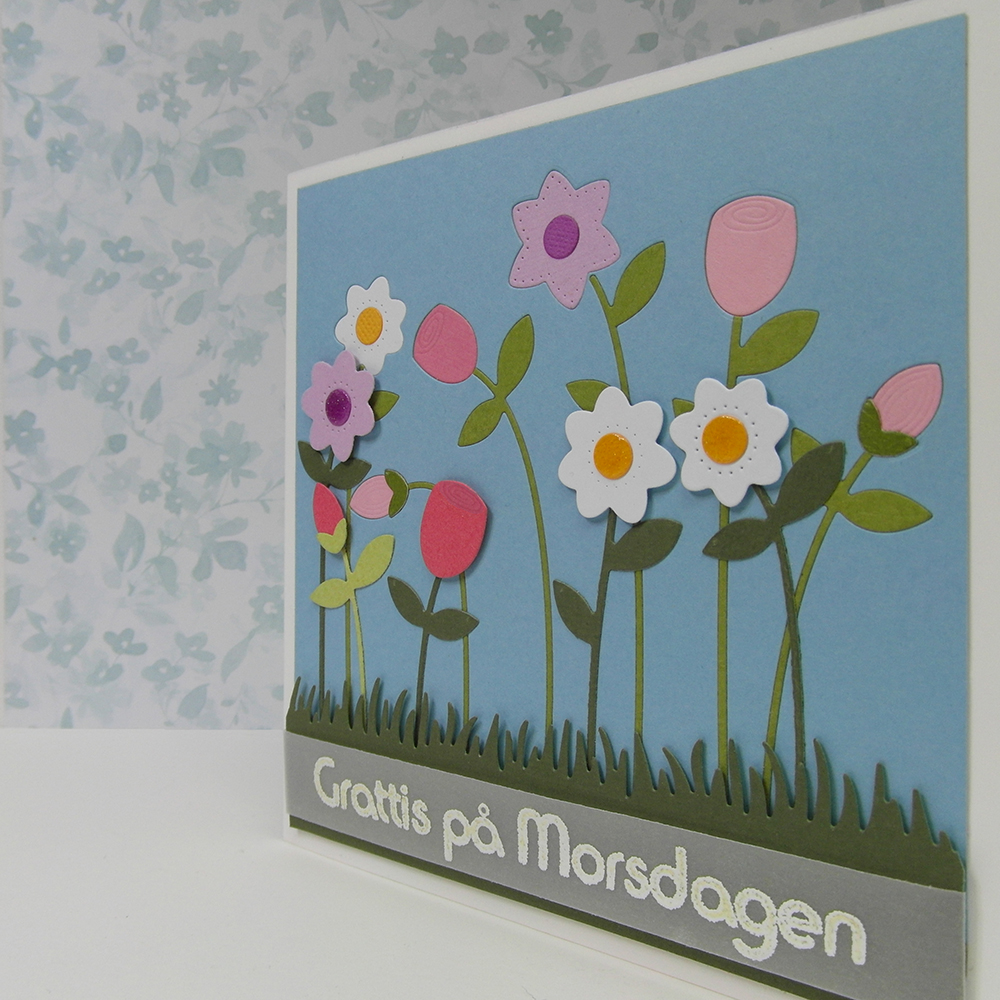
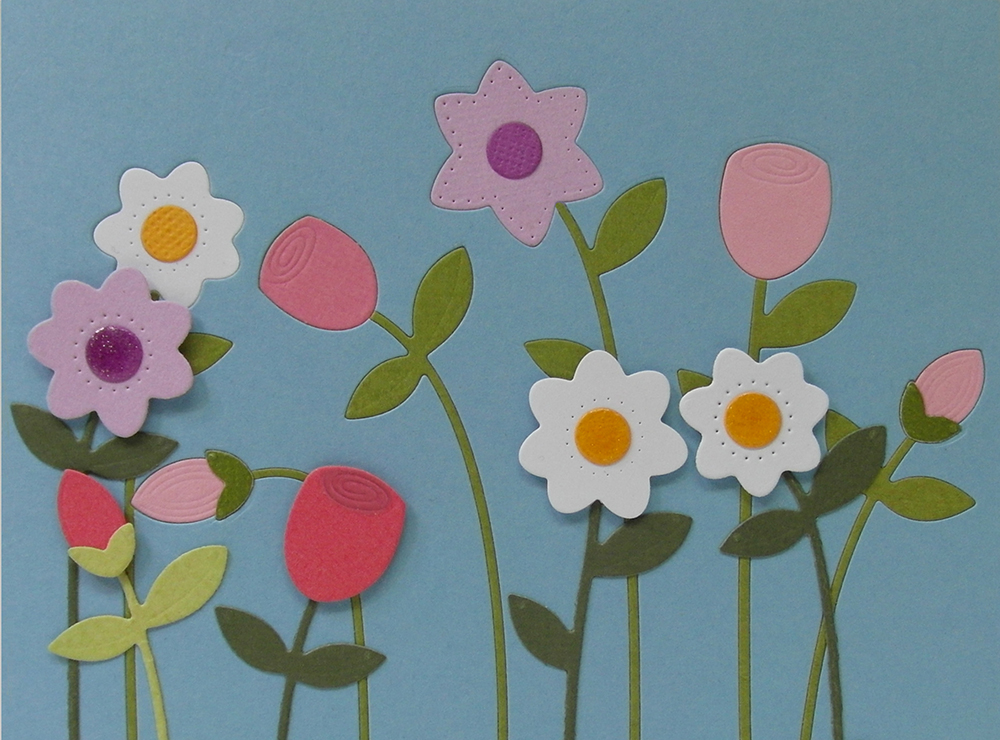
So that it would be easy to adhere the stems to the foreground, I used double-sided 2″ Sookwang tape on the back of the dark green cardstock before die-cutting them.I used thin 3D foam squares to adhere the flowers in the foreground and applied a bit of Clear Wink of Stella and Glossy Accents to some of the circles. They turned out like this:
I discovered this technique (but soon found out that I didn’t invent it) a couple of months ago when I was making gift card holders for a store and wanted to print the name of the store on vellum. It was taking very long for the ink to dry and I had an “aha moment”. I sprinkled gold embossing powder on it and it adhered perfectly to the ink! Yay, a new way to make beautiful personalized sentiments!7. I wrote the phrase with differents fonts in the needed size (it had to fit a 0.5″ x 5.5″ strip) using Photoshop, but you can also use a text editor like Word. I recommend a skinny font since this technique gives the text a bold effect.
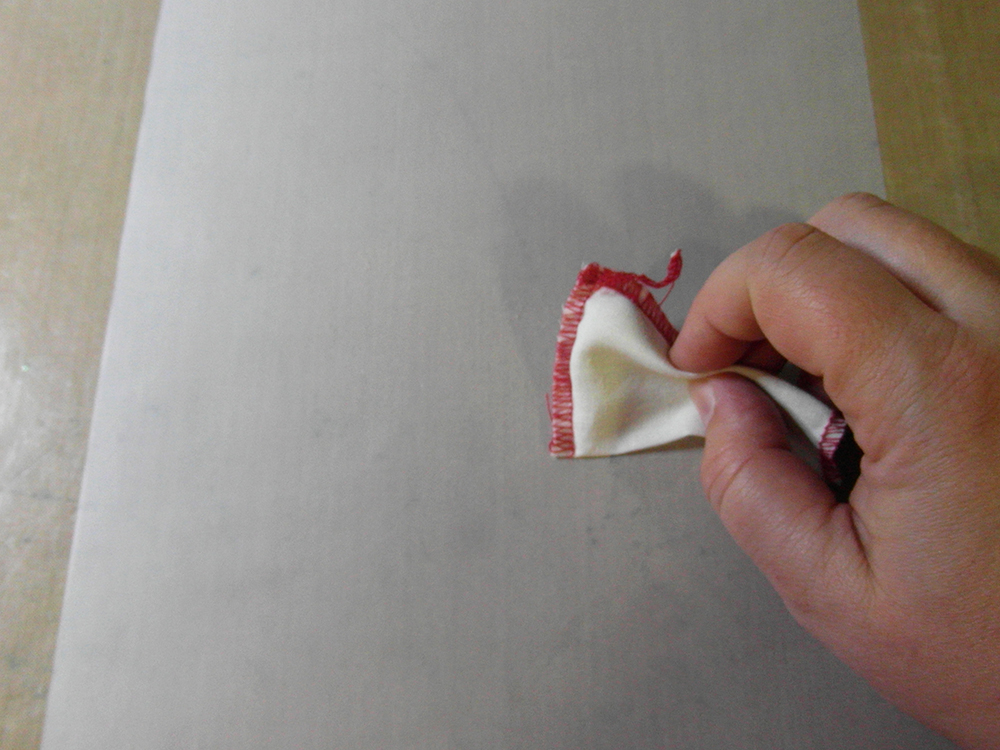

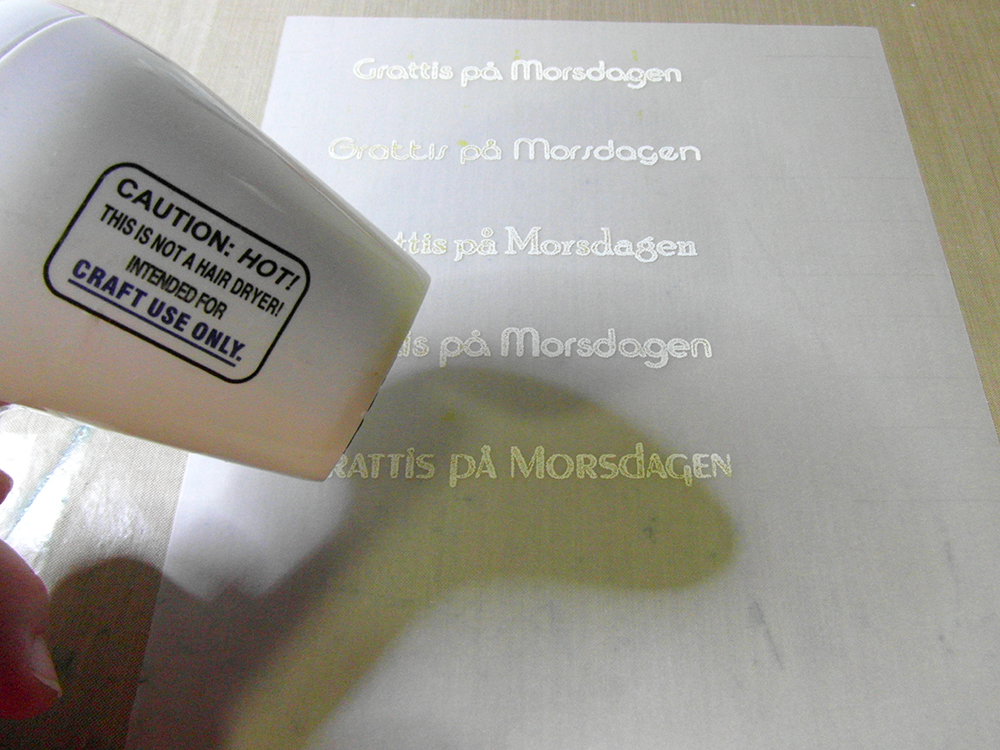
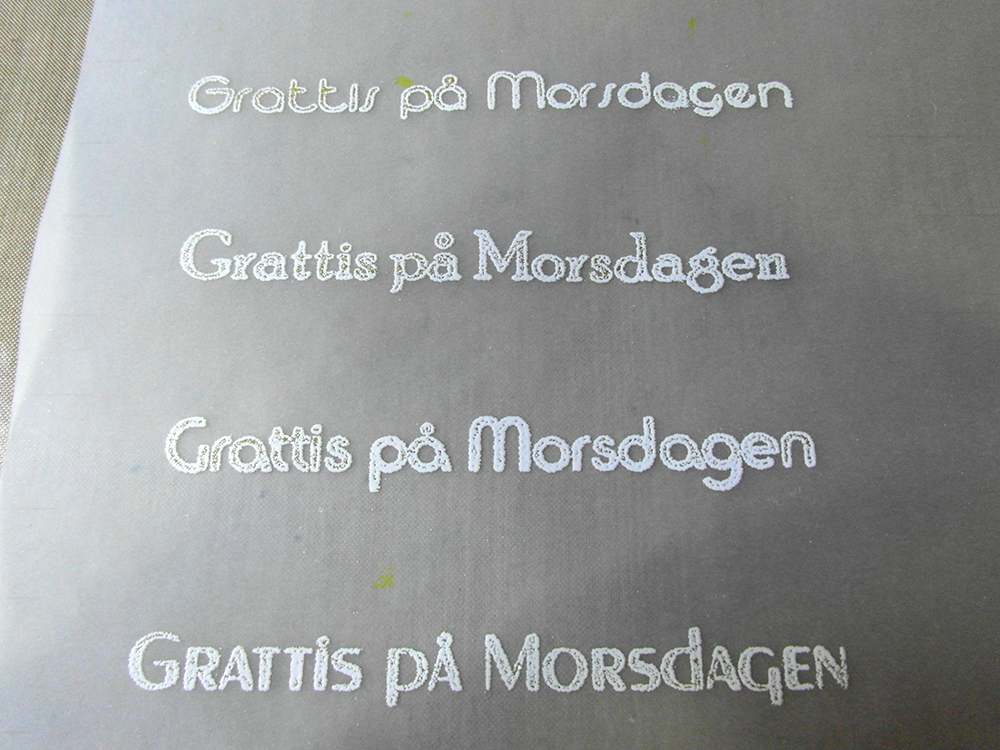
It’s not perfect, but you can always retouch the text with a white gel pen…11. The last step was to trim the chosen sentiment to a 0.5″ x 5.5″ strip , score the ends of it and glue them to the back of the strip of grass before adhering it to the card with 3D foam squares.
Voilá, here’s another look at the finished card!

Thanks for reading this loooong post ^_^ I wish you all a happy day next to your mothers, children or grand children! See you next time!
This post is also available in: Español

