
Esta entrada está también disponible en: English
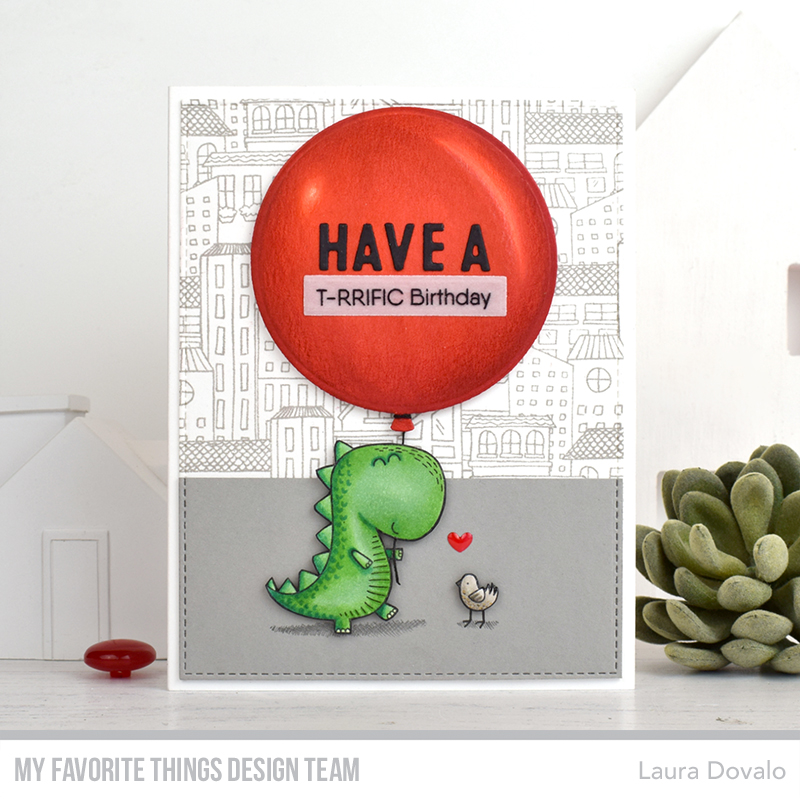
¡Hola! Estoy de vuelta con una divertida tarjeta protagonizada por el t-rex del set de sellos A-roar-able Friends, y un enorme globo rojo.

La hice para inspiraros a participar en el reto WSC543, en el blog de MFT. As you can see below, the sketch is pretty straightforward. I made the balloon slightly smaller and added two horizontal lines instead of three.

Copic markers used for card with t-rex
First I die cut the balloon out of Copic friendly card stock with the second largest die from the Balloon STAX Die-namics. Then I colored it with a combination of Copic markers (R29, R27, R24, R22 and R20) and Prismacolor pencils.

Next, I tied some black thread around it and went to work on the t-rex. I colored it with G16, G14 and G12, and fussy cut it to be able to adhere the thread. The bird would have looked weird with a white outline, so I fussy cut it as well. After assembling the card, I drew the little legs with a fine tip black pen.

For the sentiment I partially embossed one of the stamps from the A-roar-able Friends set on a piece of Heavyweight Translucent Vellum. Then I die cut it with one of the dies from the Little Notes Sentiment Strips Die-namics. I also added black letters die cut with the Bitty Banner Alphabet Die-namics, to write the first part of the phrase.

To create my A2 panel, I stamped the City Block Background with Cement Gray Premium Dye Ink Pad on a piece of Smooth White Card Stock. Then I die cut it with the largest die from the A2 Stitched Rectangle STAX Set 1 Die-namics. I also die cut a strip of Cement Gray Prestige Card Stock for the pavement.

Finally, I assembled everything and adhered my panel to an 8 3/4″ x 5 5/8″ cardbase of Smooth White Card Stock. I hope that my card has inspired you to participate in WSC543. You could be the lucky winner of a $50 gift voucher to the MFT Boutique! Before you leave, you might want to check out THESE interactive cards with dinosaurs that I made a while ago.

